Iron Butterfly vs Iron Condor: Which Is Better for You?
If a stock moves past your strike, the option can be assigned — meaning you'll have to sell (in a call) or buy (in a put). Knowing the assignment probability ahead of time is key to managing risk.
Posted by
Related reading
A Step-by-Step Covered Calls Example for Consistent Income
Unlock consistent income with our step-by-step covered calls example. This guide breaks down the strategy, risks, and outcomes to help you trade confidently.
Long Call and Short Put The Ultimate Synthetic Stock Guide
Unlock the power of the long call and short put strategy. This guide explains how synthetic long stock works, its benefits, risks, and how to execute it.
What is a Call Spread? A Clear Guide to Bull and Bear Spreads
What is a call spread? Discover how bull and bear spreads limit risk and sharpen your options trading strategy.
Understanding What These Strategies Really Do
To compare the iron butterfly vs iron condor properly, we need to go beyond basic definitions and look at how they actually work. Both are designed to profit when the market is quiet and moving sideways, but their structures create very different trading experiences. It’s like picking between two tools for the same task: one is built for precision, the other for flexibility. Your choice should match your confidence in where the stock's price is headed.
The Iron Butterfly: A Bet on Precision
The iron butterfly is the precision tool. It's built with three strike prices, where the short put and short call share the same middle strike, which is usually at-the-money (ATM). This design creates a very narrow and sharp profit peak. An iron butterfly is essentially a bet that the underlying stock will close at or extremely close to a specific price by expiration.
Because the short strikes are ATM, the premium you collect is much higher than what you'd get from a similar iron condor. This bigger reward, however, demands extreme accuracy. Even small moves away from that center strike can quickly eat away at profits and push the trade into a loss. This makes the iron butterfly a high-conviction strategy, perfect for times you expect a stock to be "pinned" to a price, like after a major event has passed and volatility has settled down.
The Iron Condor: A Bet on a Range
In contrast, the iron condor is the more versatile tool. It uses four separate strike prices, creating a much wider profit zone between its two short strikes. This structure is built by selling an out-of-the-money (OTM) call spread and an OTM put spread at the same time. Instead of betting on a single price point, you are betting that the stock's price will stay within a broader range.
This is a critical difference when weighing the iron condor and iron butterfly. While both are neutral strategies for low volatility, their risk and reward profiles are distinct. For a deeper analysis of how these two strategies stack up, you can find a great breakdown on the iron condor vs iron butterfly at Alpaca.
The profit and loss diagrams below clearly show this difference.
Note the condor’s wide, flat-topped profit zone compared to the butterfly’s sharp peak. This image confirms that the condor gives you a larger margin for error. This "breathing room" makes the iron condor a more forgiving strategy, particularly for traders who expect some price movement but believe it will remain contained. The trade-off for this wider safety net is a lower maximum profit, since the OTM options you sell will generate less premium.
The Real Mathematics Behind Risk And Reward
When you shift from theory to live trading, the mathematical link between risk and reward becomes your most critical guide. It defines your potential profit and loss and also shapes the psychological stress of managing a live position. In the iron butterfly vs iron condor debate, this is where the two strategies truly part ways, creating fundamentally different risk-reward profiles for different trading styles.
Premium, Probability, and Profit Potential
Choosing between these two strategies boils down to a direct trade-off: do you want a larger initial credit or a higher probability of success? The iron condor offers a lower initial premium but gives the underlying asset a wider price range to move within before the trade becomes a loser. This structure naturally increases the probability of profit.
On the other hand, the iron butterfly provides a much larger initial credit and, therefore, a higher potential maximum profit. However, this comes at the cost of precision—the underlying asset's price must stay very close to the middle strike price to remain profitable. You can discover more insights about how strike setups impact these strategies on alpaca.markets.
This infographic helps visualize the core differences in their setup on a trading terminal.
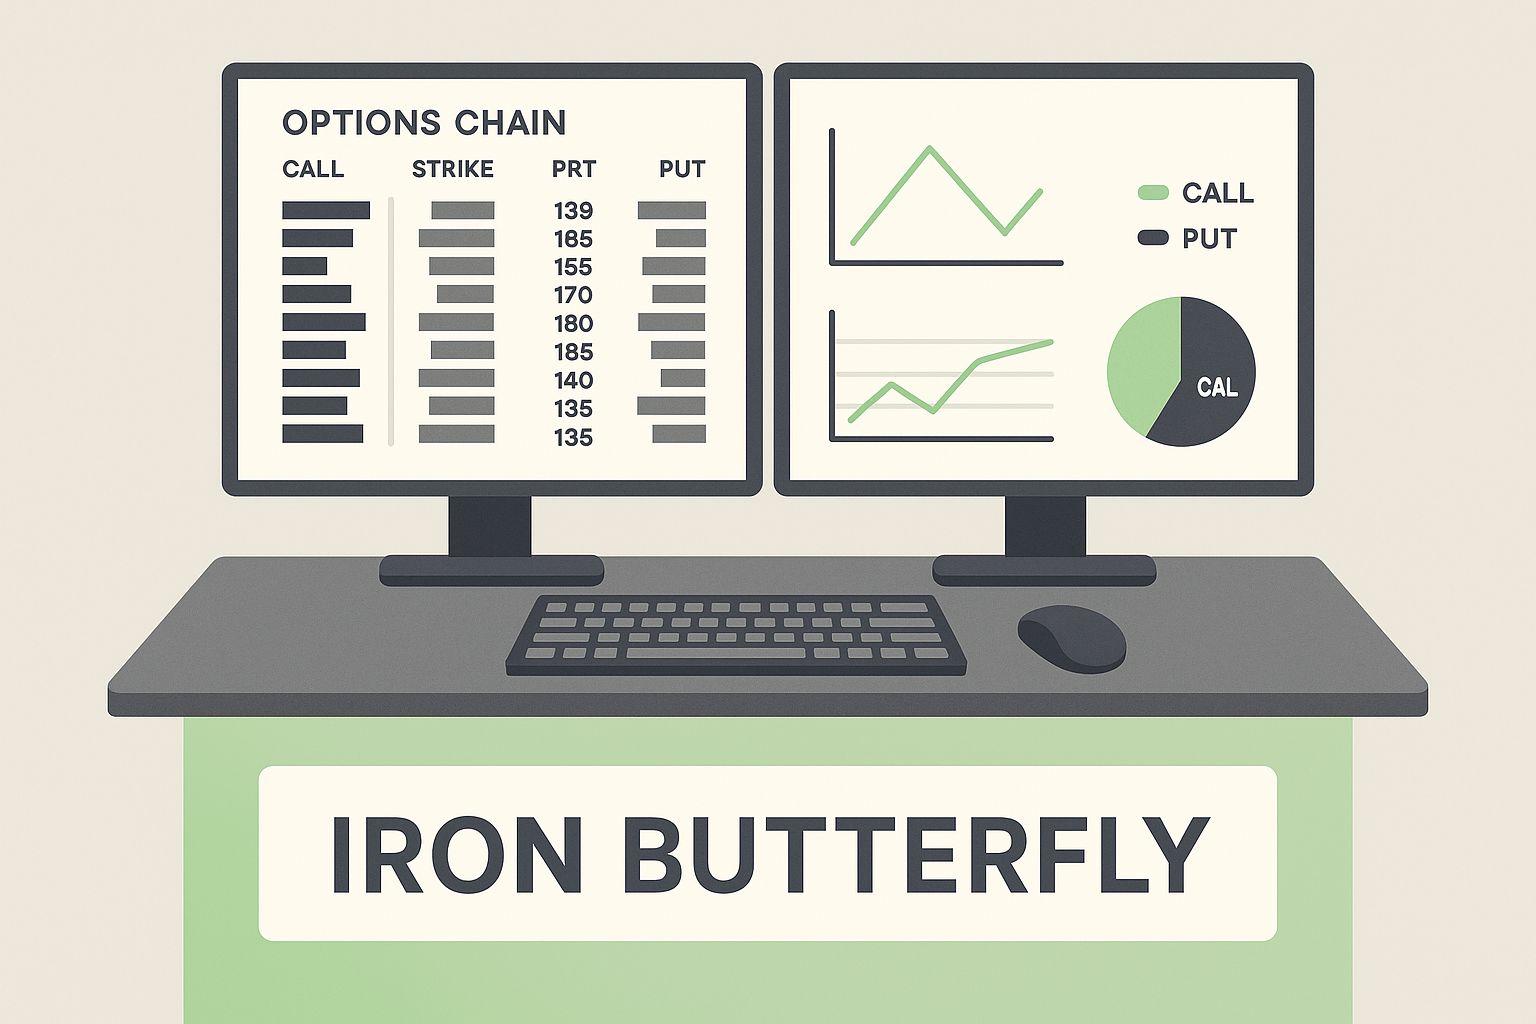
The image clearly shows the concentrated structure of the iron butterfly, centered on a single strike. This tight setup is what mathematically leads to its higher premium collection but a lower probability of keeping that profit.
The Impact of Gamma and Time Decay (Theta)
The risk-reward dynamic is heavily steered by the options Greeks, especially gamma and theta. Gamma, which measures how fast an option's delta changes, is extremely high for an iron butterfly because its short strikes are at-the-money. As expiration nears, even small price movements can cause wild swings in your position's value, making it a challenge to manage. A position that looked safe can become a significant loser in just a few hours.
An iron condor, with its out-of-the-money short strikes, has much lower gamma exposure. This makes it a more stable and forgiving strategy. The position's value moves more slowly, giving you crucial time to react and adjust if the underlying price moves against you. While both strategies benefit from time decay (theta), the condor's theta decay is more linear and predictable, adding to its stability.
To better understand how these factors play out, the following table compares the key risk and reward components side-by-side.
| Strategy Component | Iron Butterfly | Iron Condor | Key Difference |
|---|---|---|---|
| Maximum Profit | High (Equals the net credit received) | Lower (Equals the net credit received) | The butterfly's at-the-money short strikes generate a much larger premium. |
| Maximum Loss | Limited (Difference in strikes minus net credit) | Limited (Difference in strikes minus net credit) | While both are defined-risk, the butterfly's higher premium slightly reduces its max loss. |
| Breakeven Points | Narrow Range (Short strike +/- net credit) | Wider Range (Short put + net credit; Short call - net credit) | The condor's separated strikes create a much wider profit zone. |
| Probability of Profit | Lower | Higher | The wider breakeven range of the condor gives it a statistical edge for success. |
This comparison highlights the core trade-off: the iron butterfly offers a higher reward for taking on more concentrated risk, while the iron condor prioritizes a higher probability of a smaller profit.
The screenshot below illustrates the profit potential and risk for both strategies on a real underlying asset. It shows the butterfly offering a 30.5% return on capital compared to the condor's 20.5%, but with a significantly narrower profit range. Accurately modeling these numbers is key, and you can learn how with a reliable options risk reward calculator. Ultimately, the condor's wider breakeven points create a more forgiving trading environment, making it a statistically safer choice for traders who value consistency over higher, less frequent payouts.
Reading Market Conditions For Strategy Selection
Success with an iron butterfly vs an iron condor comes down to how well you can read the market, especially its volatility. This isn't about guessing; it's about making a calculated choice based on a specific forecast for an asset's price. Both strategies work well in low-volatility situations, but they are built for different types of quiet markets.
The iron butterfly is a precision tool. It’s designed for markets that you expect to be exceptionally still, with almost no price movement. Imagine a stock that has settled into a tight consolidation range after a major event, like an earnings report where all surprises are already factored in. For these "pinned" scenarios, the butterfly’s narrow structure is perfect for capturing the most premium from the market's lack of movement.
On the other hand, the iron condor is designed for moderately stable conditions. It’s for when you expect some price movement, but only within a defined channel. This makes it the more forgiving of the two strategies, ideal for sideways markets that aren't completely flat. If you believe a stock will bounce between support and resistance without breaking out, the condor's wider profit zone gives you the breathing room you need.
Volatility's Role in Selection
The concept of implied volatility (IV) is at the core of this decision. High IV means options are more expensive, which is what premium sellers want. The key is to choose your strategy based on why IV is high and what you expect it to do next.
- Iron Butterfly for IV Crush: This strategy is particularly effective during an "IV crush," which often occurs right after an earnings call. You would enter the trade when IV is high just before the news. If the stock price lands near your center strike after the announcement, the sharp drop in IV can significantly boost the trade's profitability.
- Iron Condor for Elevated IV: This approach is better for periods of general market uncertainty where IV is high, but no single event is expected to cause a massive price swing. The condor lets you collect a healthy premium from the high IV, while its wider structure helps protect against moderate price drift.
Looking at historical data confirms these use cases. Traders typically use the iron butterfly when they have strong conviction that the underlying price will stay close to a specific strike. For a more in-depth look at how traders align these strategies with volatility, learn more about how these options strategies are compared at SteadyOptions.
A Visual Guide to Strategy Selection
The profit and loss graphs for each strategy provide a clear picture of their ideal market conditions. The image below shows the structural differences that make one strategy better for precision and the other for range-bound trading.
As you can see, the iron condor has a wide, flat profit zone, which is ideal for collecting premium as time passes across a broad price range. The iron butterfly’s sharp peak shows why it requires the underlying price to expire almost exactly at the center strike to achieve maximum profit. Your choice should ultimately depend on how confident you are that the market will remain calm.
What The Performance Data Actually Shows
When comparing the iron butterfly vs iron condor, theory is one thing, but real-world performance data is what impacts your trading account. Looking at how these strategies have actually performed through various market cycles reveals distinct patterns in win rates, returns, and consistency. This data-driven view is crucial for setting realistic expectations for your strategy.

Unpacking Win Rates and Return Profiles
The most significant statistical contrast between these strategies is their historical win rate. The iron condor, with its wider profit range, is more forgiving and can better absorb small price movements against the position. In contrast, the iron butterfly's single-strike profit peak demands incredible precision, which naturally results in a lower success rate.
This structural difference is clear in long-term performance data. Backtesting from 2010 to 2023 on U.S. equity options shows that iron condors have a historical win rate of roughly 60–65%. Iron butterflies, however, win closer to 40–50% of the time, though they often produce higher average returns on those winning trades. For a closer look at this data, you can explore more statistical findings about these options strategies.
To provide a clearer picture, the table below breaks down the historical performance of both strategies under different market conditions.
| Performance Metric | Iron Butterfly | Iron Condor | Market Condition |
|---|---|---|---|
| Win Rate | 40-50% | 60-65% | Neutral/Low Volatility |
| Average Return (Win) | +20-25% | +10-15% | Neutral/Low Volatility |
| Max Drawdown (2010-2023) | -35% | -22% | High Volatility / Bear Market |
| Sharpe Ratio (Risk-Adjusted) | 0.45 | 0.65 | All Conditions |
The data shows that while the iron butterfly can deliver higher returns on individual winning trades, the iron condor's higher win rate and lower maximum drawdown lead to better risk-adjusted returns over the long run.
Premium Collection vs. Consistent Income
The performance data also brings the trade-off between premium size and income consistency into sharp focus.
Iron Butterfly: This strategy generates a much larger initial credit. This makes it attractive for traders aiming to maximize premium on a single trade, particularly around high-volatility events like earnings, where an IV crush can boost returns. The catch is that the probability of keeping that full premium is lower.
Iron Condor: This approach typically provides a more reliable income stream. Although the initial credit is smaller, the higher win rate means traders can often collect these smaller premiums more regularly, which contributes to a smoother equity curve over time.
Your choice directly shapes your income pattern: aiming for larger, less frequent wins with the butterfly versus smaller, more frequent gains with the condor.
The Hidden Costs: Spreads and Liquidity
Finally, real performance is what's left after transaction costs, and this is where the iron condor often holds a practical edge. Because its short strikes are further out-of-the-money, they generally have better liquidity and tighter bid-ask spreads than the at-the-money options used in a butterfly.
Over hundreds of trades, consistently paying a wider spread for a butterfly can significantly eat into your net returns. An iron condor's better liquidity makes getting in and out of positions more efficient and less expensive—a practical advantage that reinforces its reputation as the more consistent of the two strategies.
Managing Risk When Things Go Wrong
Effective risk management is what separates traders who survive volatile market shifts from those who don't. While both the iron butterfly and iron condor are defined-risk strategies, the approach to managing a trade when the price moves against you is fundamentally different. In the iron butterfly vs iron condor comparison, understanding how to react when things go wrong is just as important as knowing how to set up the trade correctly.
Managing the Concentrated Risk of an Iron Butterfly
An iron butterfly is defined by its concentrated risk profile. Because the short strikes are at-the-money, the position is highly sensitive to price movement, a characteristic measured by gamma. This gamma risk escalates dramatically as expiration approaches, meaning small price changes can cause rapid, significant losses. This sensitivity demands a proactive management style.
A common rule for butterflies is to consider closing the position early, well before expiration. Many traders set a profit target, such as 50% of the maximum potential profit, and exit once it's reached. Conversely, setting a strict stop-loss, like 1.5x to 2x the premium received, is crucial. If the underlying price breaches a breakeven point, adjusting the trade is often more complex than simply closing it for a loss. An adjustment might involve rolling the entire structure out in time to a later expiration date, which gives the trade more time to become profitable again but also incurs additional transaction costs.
Managing the Wider Range of an Iron Condor
An iron condor offers more flexibility due to its wider profit range and lower gamma. This "breathing room" means the position is less sensitive to minor price fluctuations, giving you more time to assess and react. When the price challenges one side of a condor, you have several options:
- Adjust the Losing Side: If the price moves toward your short put, you can roll the entire put spread down and out to a lower strike and a later expiration. This collects an additional credit and widens your breakeven point, but it extends the trade's duration.
- Close the Losing Side: Some traders prefer to close only the tested side (e.g., the put spread) for a small loss, leaving the untested call spread open to expire worthless. This turns the trade into a simple credit spread.
- Close the Full Position: If volatility spikes or the market trend becomes strong and clear, closing the entire condor for a managed loss is often the wisest decision.
From a risk management and market suitability perspective, iron condors and iron butterflies reflect fundamentally different strategic choices. The iron condor’s maximum loss is limited, but its strike widths are typically 2 to 3 times wider than a butterfly's, providing a much larger margin for error before adjustments are needed. You can learn more about these strategic differences on moomoo.com.
Position Sizing and Portfolio-Level Rules
Proper position sizing is the ultimate risk control. Because of its high gamma and concentrated risk, an iron butterfly position should be significantly smaller than an iron condor position, often half the size or less for the same account.
A prudent rule is to risk no more than 1-2% of your portfolio on any single butterfly trade. For condors, you might allocate 3-5% due to their higher probability of success and wider risk tolerance. For a complete overview of these principles, check out our comprehensive guide on options trading risk management. Ultimately, managing risk is about preparation and discipline, ensuring no single trade can cause catastrophic damage to your portfolio.
Practical Implementation and Execution
Knowing the theory behind the iron butterfly and iron condor is one thing, but successful trading comes down to the details of execution. How you enter, manage, and exit these multi-leg positions can have a greater impact on your returns than the initial strategy choice itself.
Order Entry and Liquidity
One of the most important decisions is how you enter the trade. While it might seem tempting to "leg in"—entering each of the four options legs separately to chase a better price—this is a high-risk method. The market can move against you while you are placing individual orders, turning a good setup into an immediate loss.
For this reason, both iron condors and iron butterflies should almost always be entered as a single, multi-leg order. This approach guarantees you get the entire position filled at a specific net credit or not at all, removing the risk of partial fills or price changes between the legs. When placing the order, a good starting point is the mid-price (the midpoint between the bid and ask prices). Be patient; if the order doesn't fill, you can adjust it slightly toward the bid price, but avoid chasing a fill that erodes your profit from the start.
Contract Selection: Beyond the Strike Price
Choosing the right contracts involves more than just picking strike prices. Two key metrics to watch are open interest and volume.
- Open Interest: This figure shows the total number of outstanding contracts for a specific option. High open interest, ideally in the hundreds or thousands, suggests a liquid market, making it easier to enter and exit at a fair price.
- Volume: This shows how many contracts were traded on a given day. High volume confirms there is active trading interest in those specific options.
These liquidity factors are especially relevant when comparing the iron butterfly to the iron condor. The at-the-money (ATM) options used in a butterfly are typically very liquid. However, the out-of-the-money (OTM) options required for a condor can sometimes have wider bid-ask spreads. Always check these metrics before placing a trade to avoid getting stuck in a position with high transaction costs.
Managing the Position in Your Platform
Once your trade is active, effective management is essential. A practical first step is to set up alerts in your trading platform that notify you when the underlying asset's price nears your breakeven points. This should be your signal to re-evaluate the position, not to panic.
Most modern platforms let you monitor your position’s Greeks (Delta, Gamma, Theta, Vega) in real-time.
- For an iron butterfly, pay close attention to gamma. It increases sharply as expiration approaches, making the position’s value change rapidly with small price moves in the underlying stock.
- For an iron condor, theta (time decay) is your primary source of profit. Monitor it to confirm you are collecting premium each day the stock remains within your profitable range.
Finally, always have a clear exit plan. This includes a target for taking profits, such as closing the position at 50% of the maximum potential profit, and a pre-defined stop-loss to protect your capital if the trade moves decisively against you. For a deeper dive into these execution details, our library of options trading tutorials offers step-by-step guidance.
Your Strategy Selection Framework
Deciding between an iron butterfly vs. an iron condor isn't about guesswork; it requires a structured approach. A solid framework helps you move from theory to confident action by weighing key variables: your market outlook, risk tolerance, and specific trading goals. This method helps you deploy the right strategy for the right situation.
Decision-Making Quadrants
Your choice can be simplified by looking at four primary scenarios based on your market conviction and how much risk you're willing to take.
| Scenario Quadrant | Trader Profile | Recommended Strategy | Rationale |
|---|---|---|---|
| High Conviction, Low Volatility | The Pinpoint Trader | Iron Butterfly | You have strong reasons to believe the stock will land on a specific price, like after an earnings report. Your goal is to maximize the premium from this very precise forecast. |
| Low Conviction, Low Volatility | The Income Generator | Iron Condor | You expect a quiet market but aren't sure of the exact closing price. Your aim is steady income with a higher probability of success and less need for trade adjustments. |
| Aggressive Premium Collector | High-Risk, High-Reward | Iron Butterfly | You want the largest possible credit for the trade and are comfortable with the concentrated risk and lower win rate. Your focus is on maximizing return on capital. |
| Conservative Capital Protector | Risk-Averse, Steady Growth | Iron Condor | Your top priority is protecting your capital. You accept a smaller premium in exchange for a wider safety net, lower gamma risk, and a smoother equity curve over time. |
Practical Application: Scenarios and Selection
This framework becomes truly useful when applied to real-world market events.
- Upcoming Earnings: You believe a stock is fairly valued and won't move much after its earnings announcement, but implied volatility is high. This is a classic high-conviction scenario, making the iron butterfly a great choice to capture the large premium as IV collapses.
- Index Trading in a Sideways Market: You're trading an index like the SPX while it's stuck in a well-defined channel during a period of economic quiet. This is a low-conviction, low-volatility situation. An iron condor is the better tool here, as it lets you profit from time decay across a wide price range without needing to pinpoint an exact price.
Portfolio Integration and Final Considerations
Finally, think about how the trade fits within your overall portfolio. An iron butterfly, with its higher risk, often works best as a tactical, standalone play. It typically requires a smaller capital allocation, perhaps 1-2% of your portfolio.
In contrast, an iron condor is more of a workhorse strategy. It can be used more frequently and with slightly larger allocations (3-5%) as a core income-generating part of your portfolio. Its wider profit range makes it less demanding to manage, a key advantage for many traders. For this reason, traders who prioritize consistency and fewer adjustments often prefer the iron condor.
With a data-driven approach, you can stop guessing and start making strategic decisions. Strike Price gives you the real-time probability metrics needed to confidently select the right strikes and strategy for your risk profile. Sign up today to turn your options trading from a gamble into a calculated, income-generating process.